Makeup isn’t just a way to enhance your appearance, but also a tool for creativity and self-expression. However, with so many beauty products in the market, beauty beginners can easily feel overwhelmed and confused on where to start. If you’re feeling lost in the world of makeup, there’s no need to fret. Read on for a step-by-step guide to achieve a natural everyday look, as well as product recommendations for building a makeup starter kit!
Step 1: Sunscreen
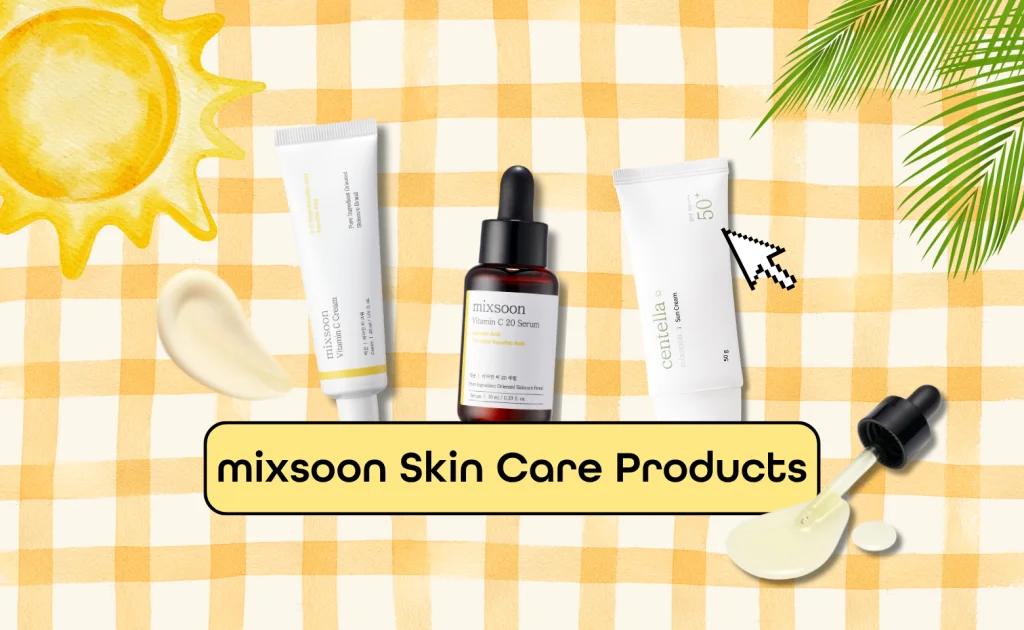
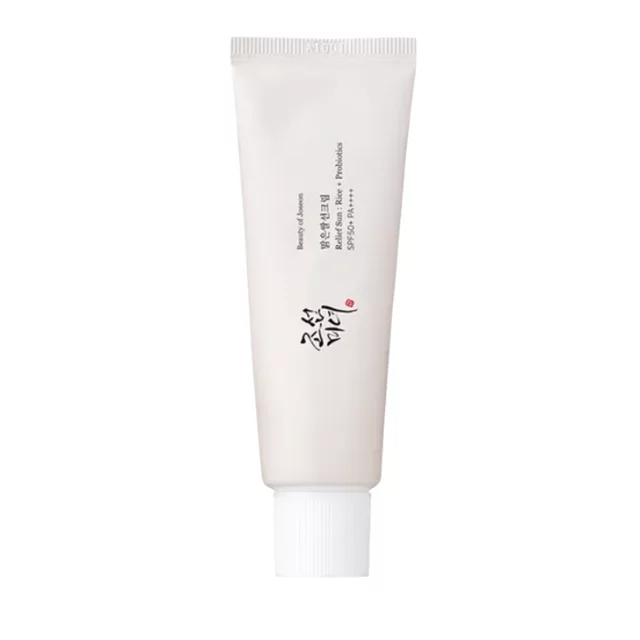
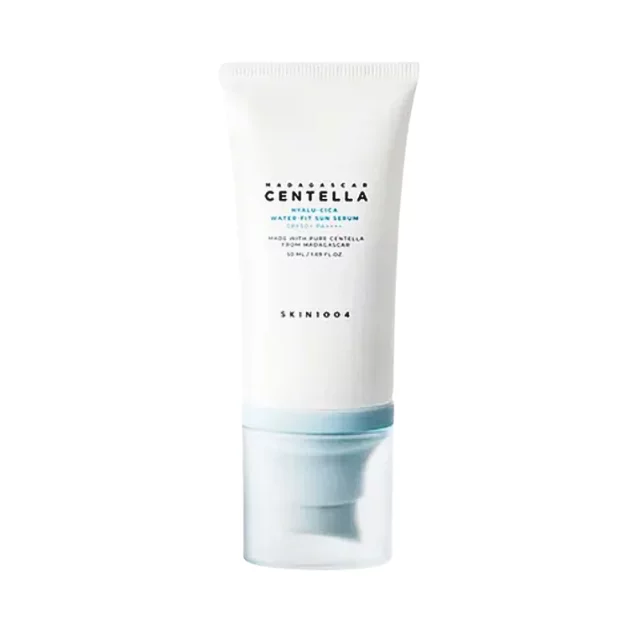
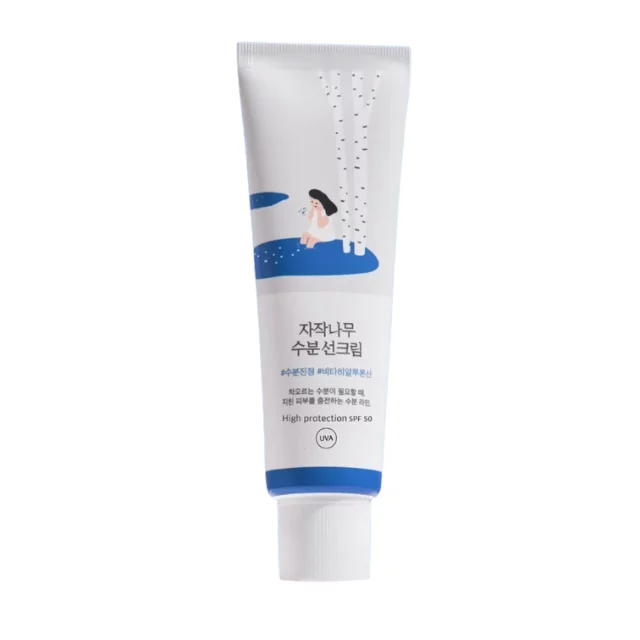
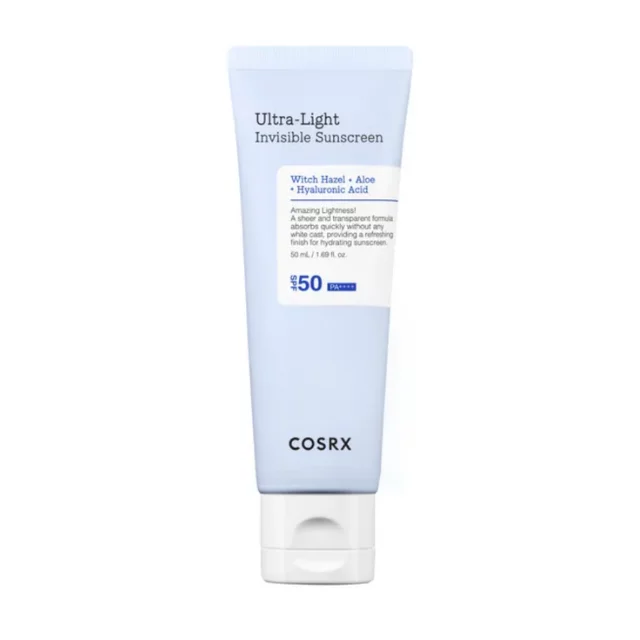
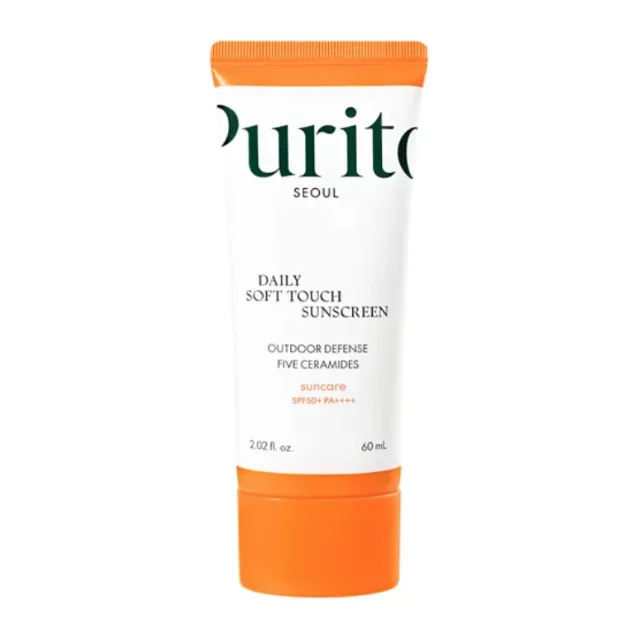
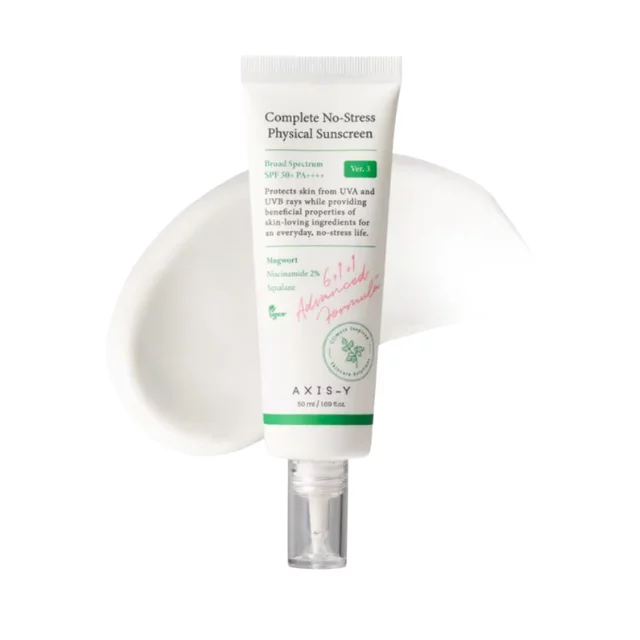
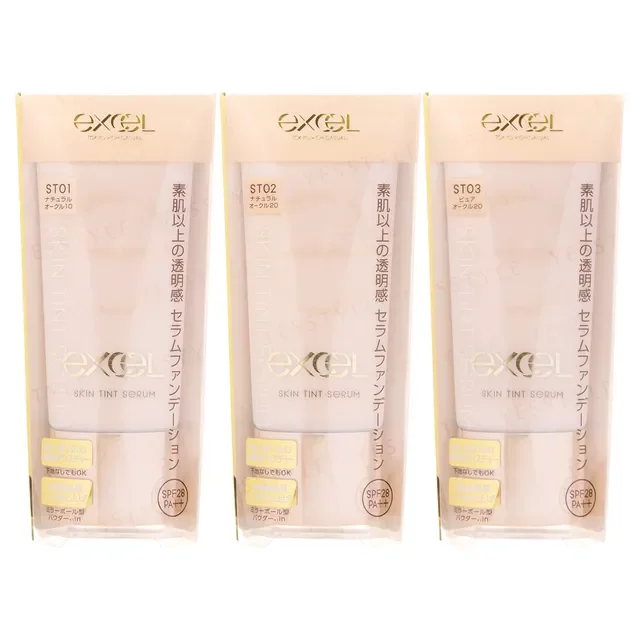
Crucial but often overlooked, prepping your skin is key to achieving a natural, seamless finish. Applying your makeup after completing your skin care routine helps makeup adhere smoothly, preventing cracks and smudges. Finish your skin care routine with sunscreen to not only protect skin from the sun’s rays but also create an even surface for layering makeup. Apply a fine layer of sunscreen on the forehead, cheeks and chin.
Choose a broad-spectrum sunscreen for optimal sun protection against both UVA and UVB rays. Opt for sunscreens that best suit your skin type and skin concerns. If you have dry skin, for example, choose a formula that hydrates skin.
Step 2: Base Makeup
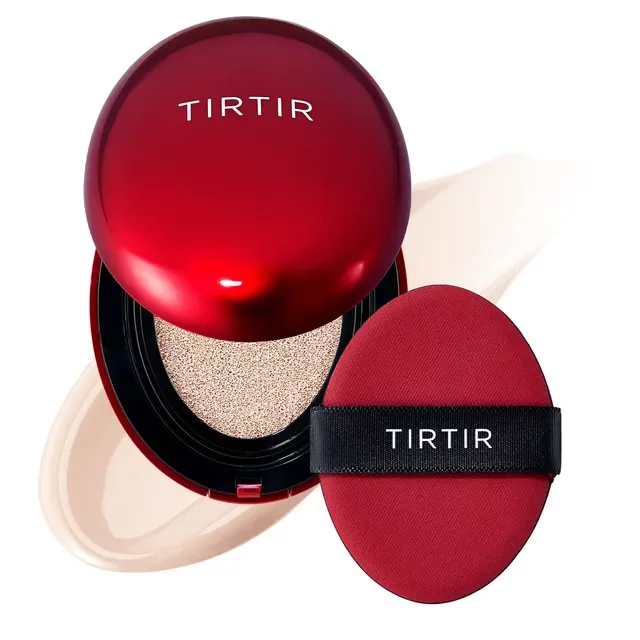
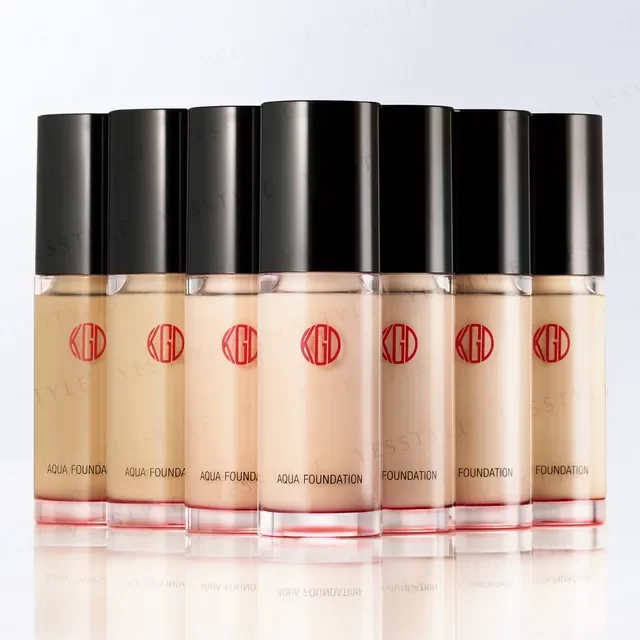
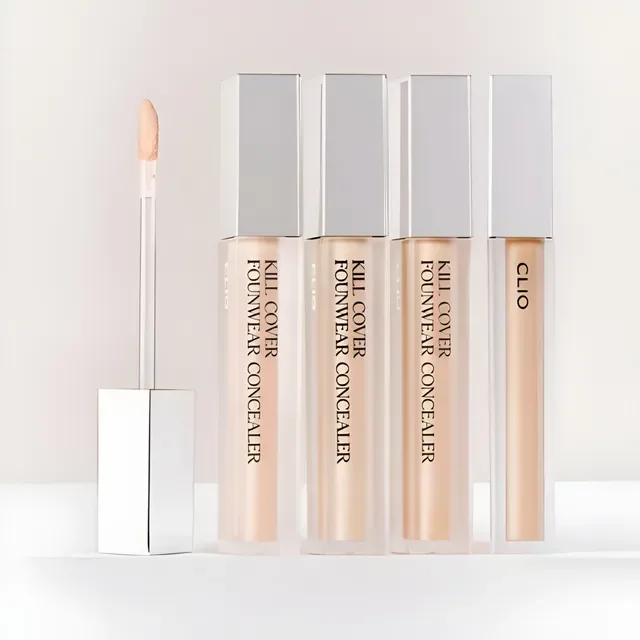
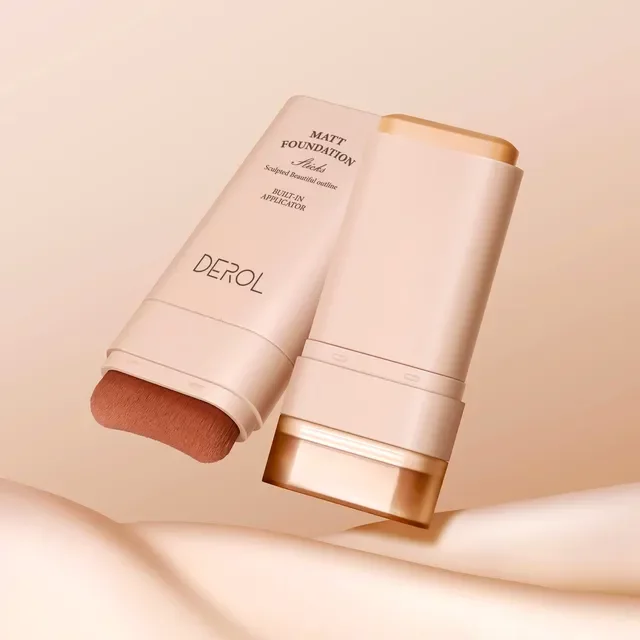
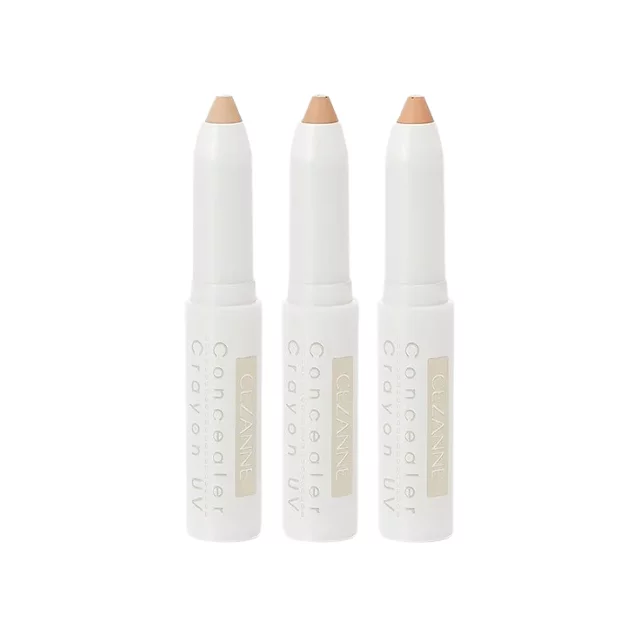
Base makeup, including foundation and concealer, helps you create a smooth canvas for other color cosmetics by covering imperfections, smoothing skin texture and evening skin tone. Foundation is applied over the entire face, while concealer is applied on targeted areas like acne spots, dark circles and other skin discolorations. Both foundations and concealers vary in formulations, finishes and even skin care benefits. Choose a product that matches your skin type and skin tone.
To apply foundation, use a foundation brush or makeup puff to pick up product and blend onto skin. For concealer, use the concealer brush to apply a small dot over the targeted area, and then use your fingertips to thoroughly blend out using gentle tapping motions.
Tip: Too much product draws attention to imperfections you’re trying to hide, so apply in thin layers and build up coverage as needed. Check out this base makeup tutorial for more tips!
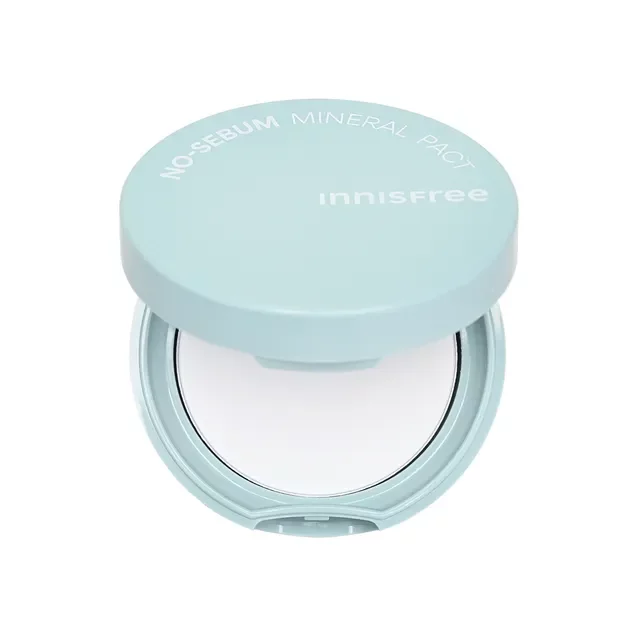
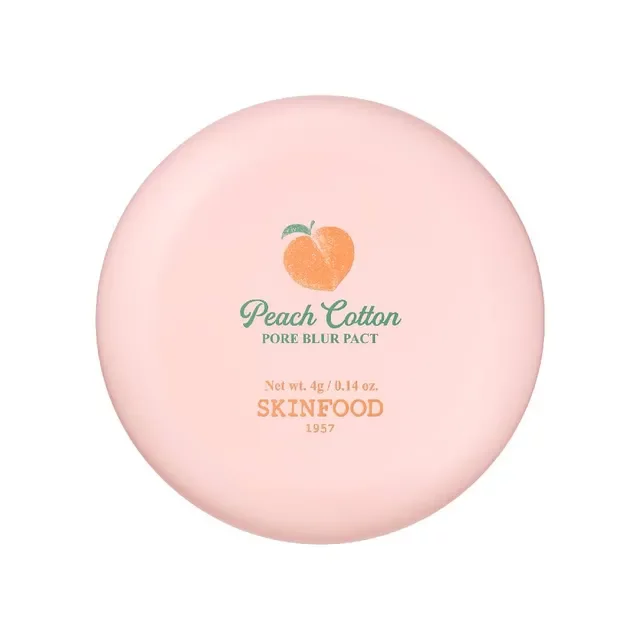
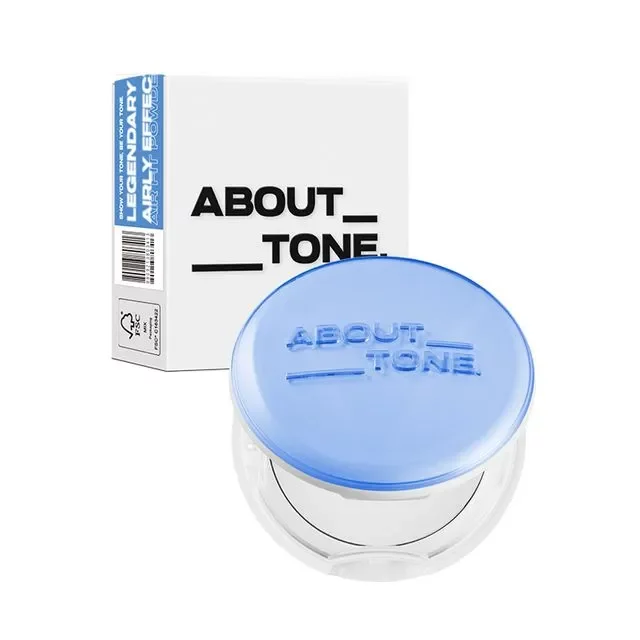
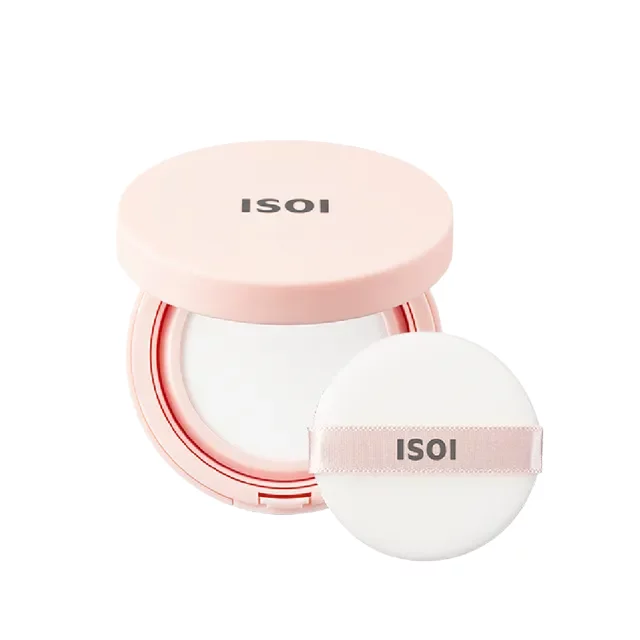
Step 3: Setting Powder
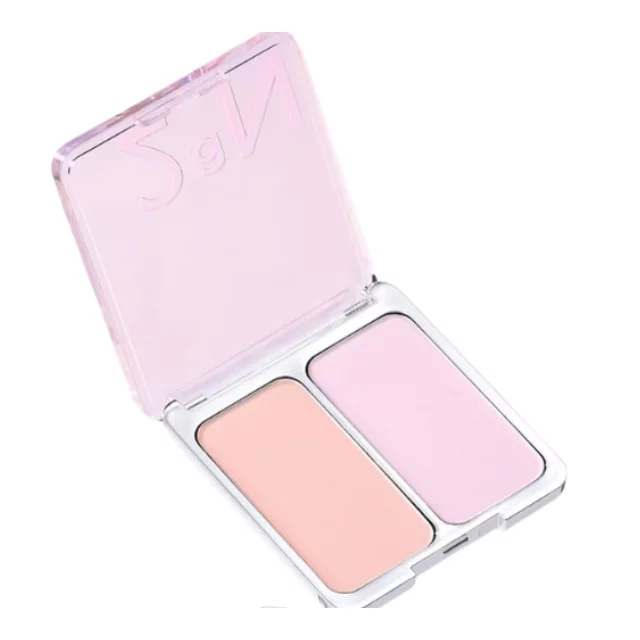
Set your base makeup with setting powder. This step helps makeup last all day by preventing creasing and flaking. Setting powder comes in various types including loose powders and pressed powders. The former is finely milled powder housed in a jar, while the latter is powder pressed into a compact. I recommend pressed powders for portability and fuss-free application.
Setting powders come in both translucent, colorless versions and tinted, color-correcting formulations. Choose a powder that meets your makeup and skin care needs. Use a powder puff to dab onto skin, focusing on the T-zone (forehead, nose and chin) where oil tends to appear first.


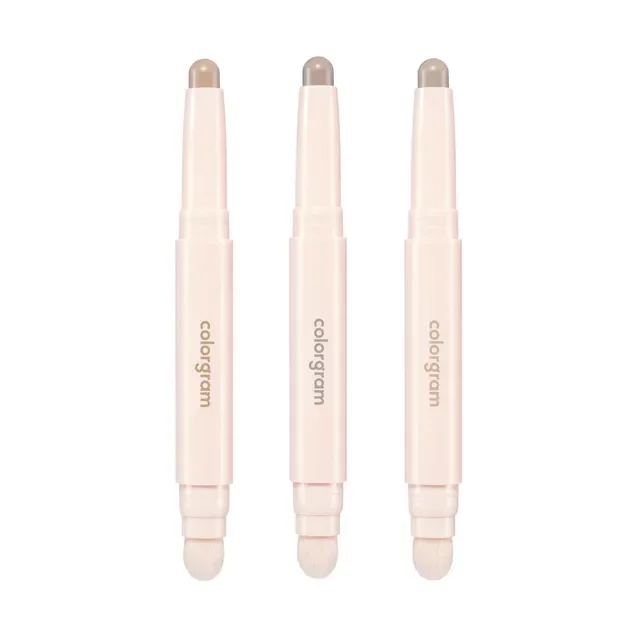
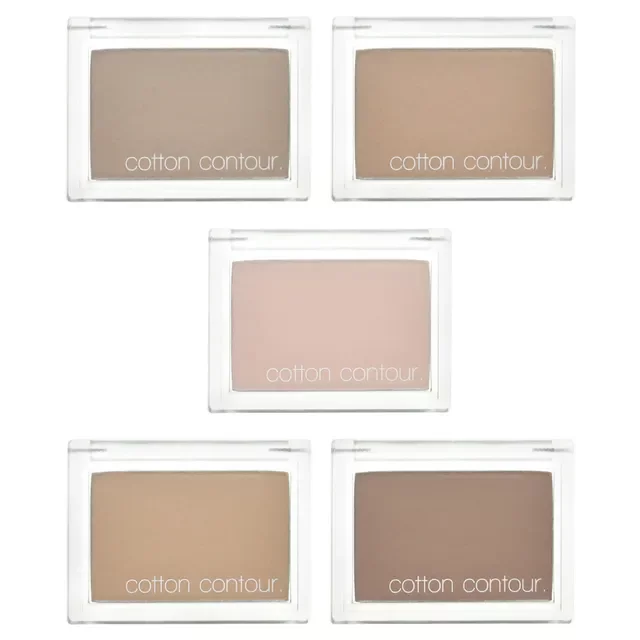
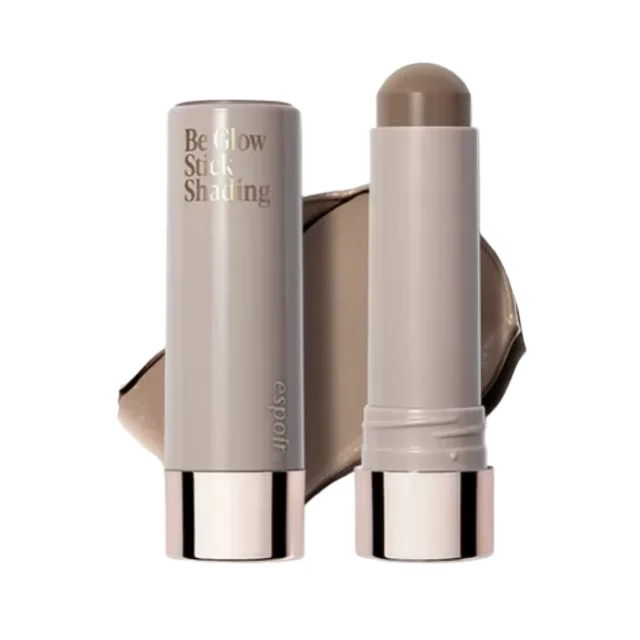
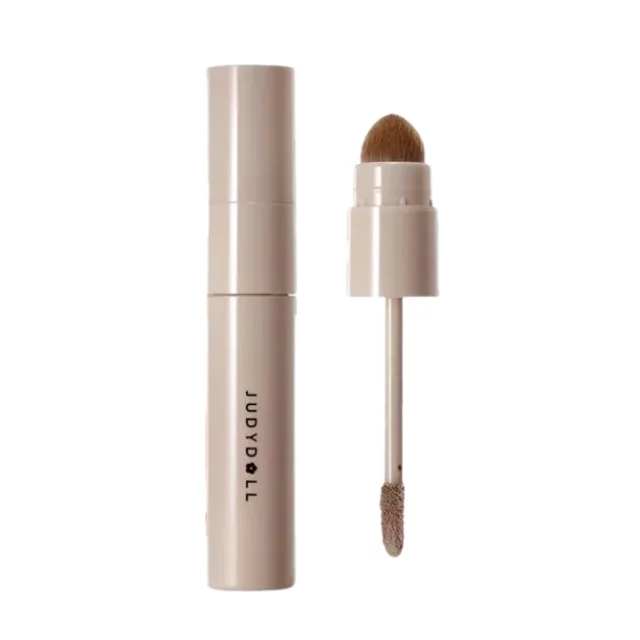
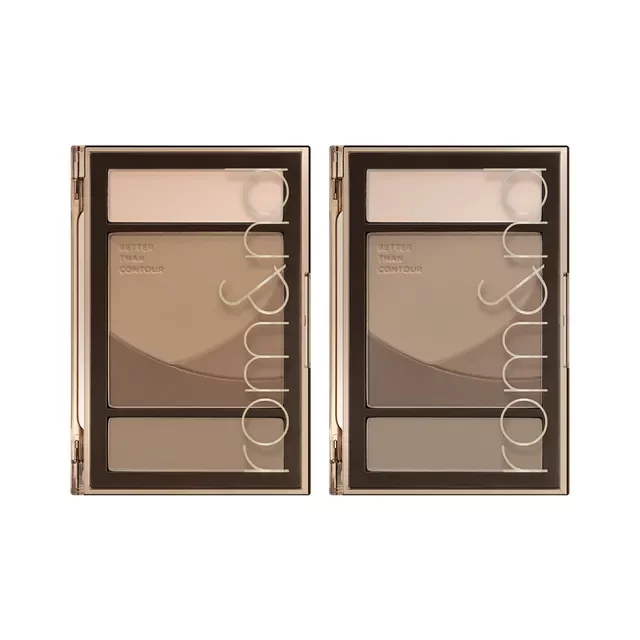
Step 4: Contour
Add depth and dimension to your facial features with contouring. To put it simply, picture your skin as a portrait, and use darker colors to create shadows that sculpt and define your face. Typical areas to apply contour include the cheekbones, jawline, nose and forehead. For precise techniques, consider contouring tutorials tailored to different face shapes and nose shapes. Beginners should choose natural-looking shades that allow more room for error.

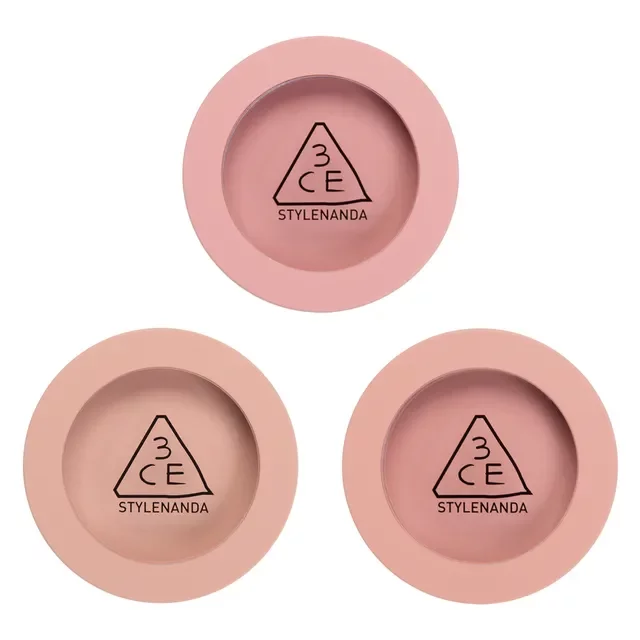
Step 5: Blush
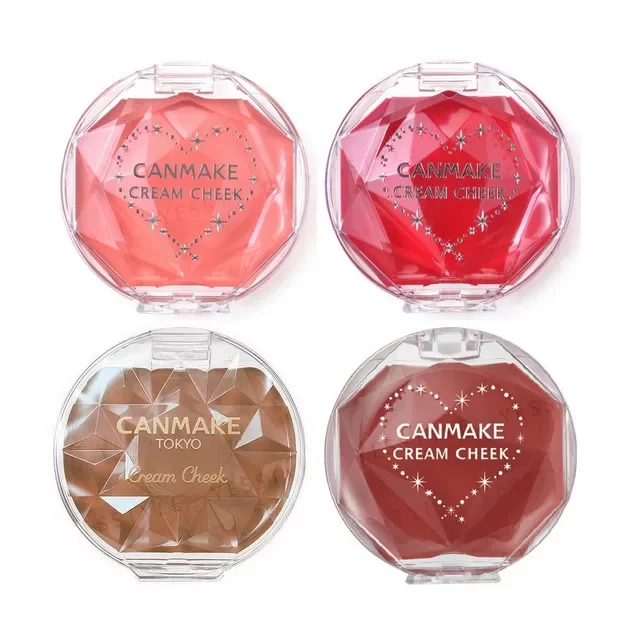
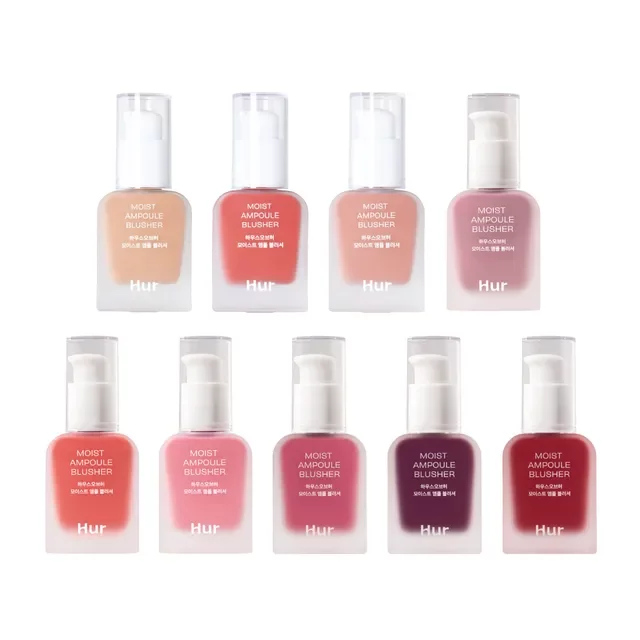
Give your cheeks a natural flush with blush, a makeup product that brings color and warmth to the cheek area. The makeup staple comes in various textures and finishes, so pick a blush tailored to your skin type and preferences. For both blush and contour, apply it before setting powder if you’re using a cream or liquid formula, and after if you’re using a powder formula.
Select a blush shade that complements your skin undertone: those with warm skin tones should pick a warm-tone shade, while cool skin tones go well with cool-tone shades. A foolproof method of blush application is to apply it onto the apples of your cheeks. If you want to elevate your blush look, check out this blush placement guide!
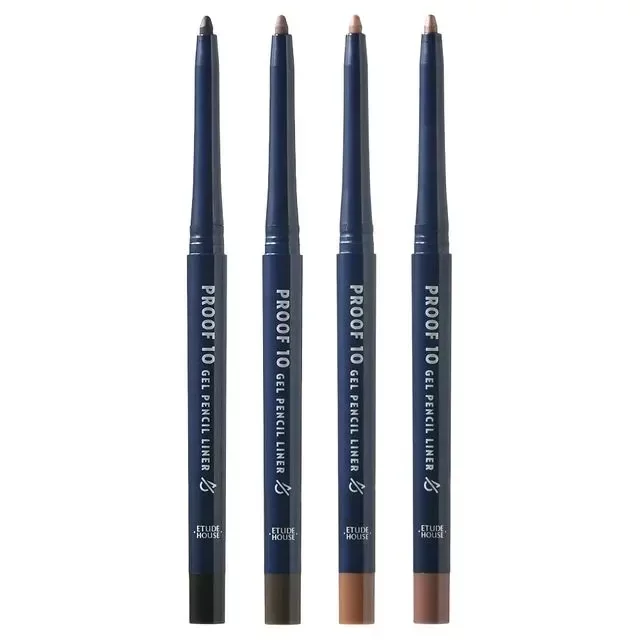
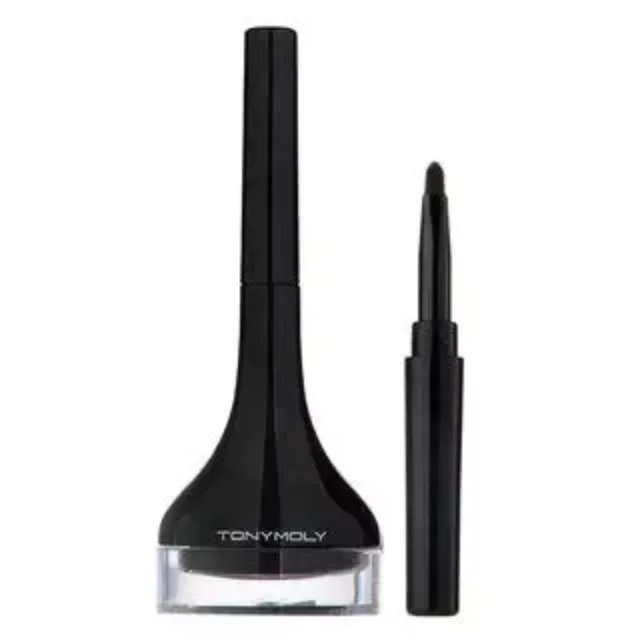
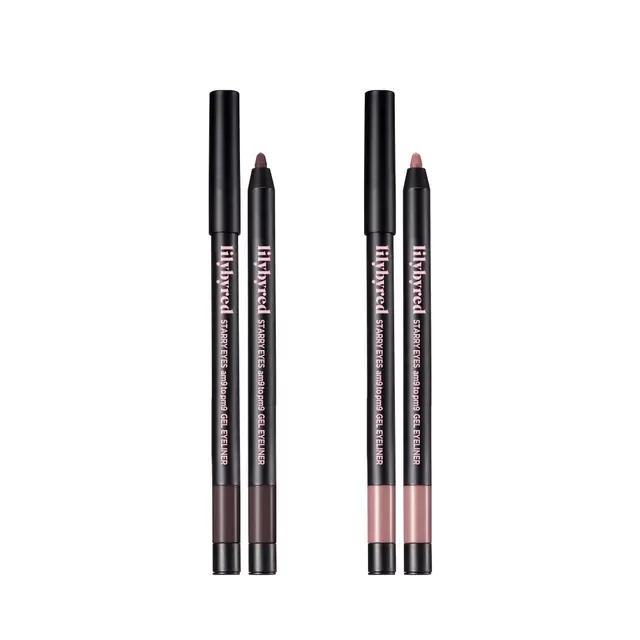
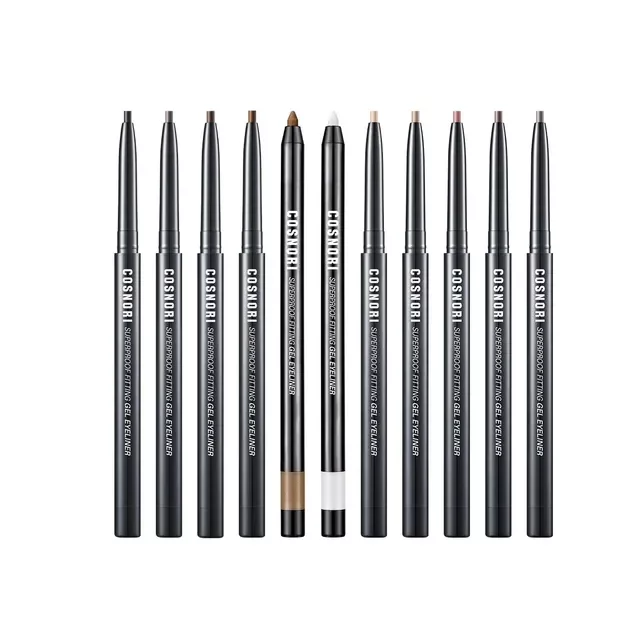
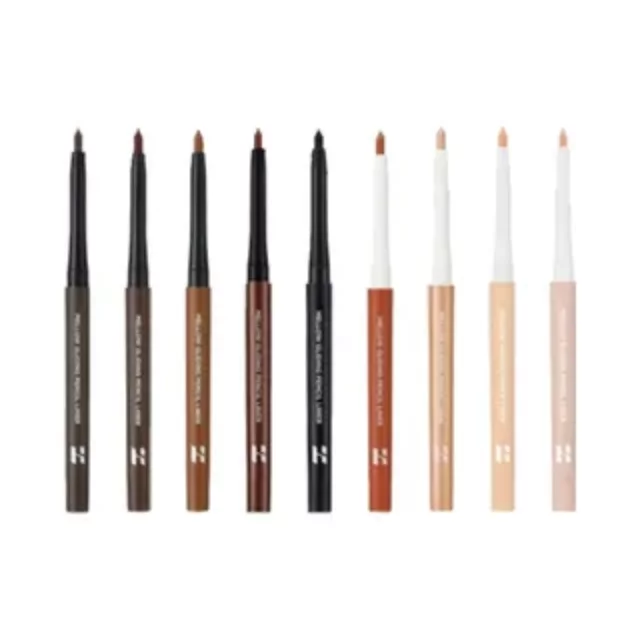
Step 6: Eyeliner
Applying eyeliner is often the most intimidating step for makeup beginners, since it can easily make or break a makeup look! When done right, eyeliner provides extra oomph to any look by defining and enhancing eyes. For those new to eyeliner, a creamy formula that glides effortlessly on eyelids is your best bet. That means opting for gel or pencil eyeliners, and avoiding liquid eyeliners until you’re more experienced in your eyeliner game.
Feel free to experiment with different eyeliner styles to find the liner look that you love most. If you’re not confident in your flick-drawing skills, a thin line across your lash line already does wonders.
Tip: Look down into a mirror as you apply – this angle helps you avoid any telltale gaps in your liner!

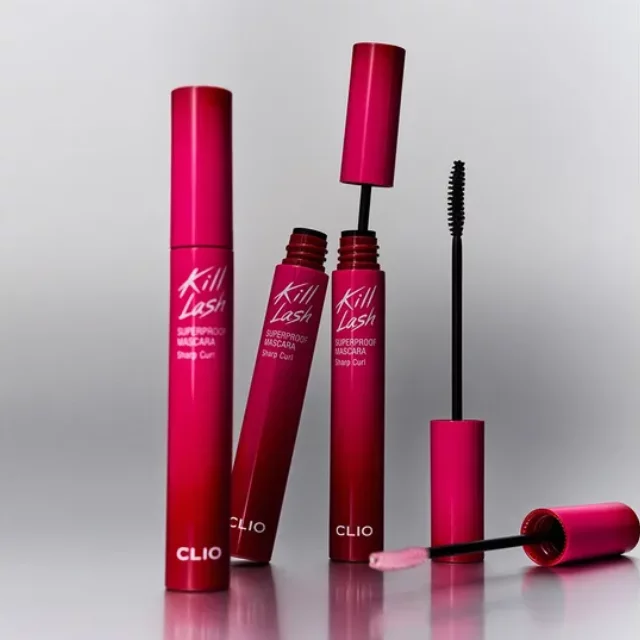
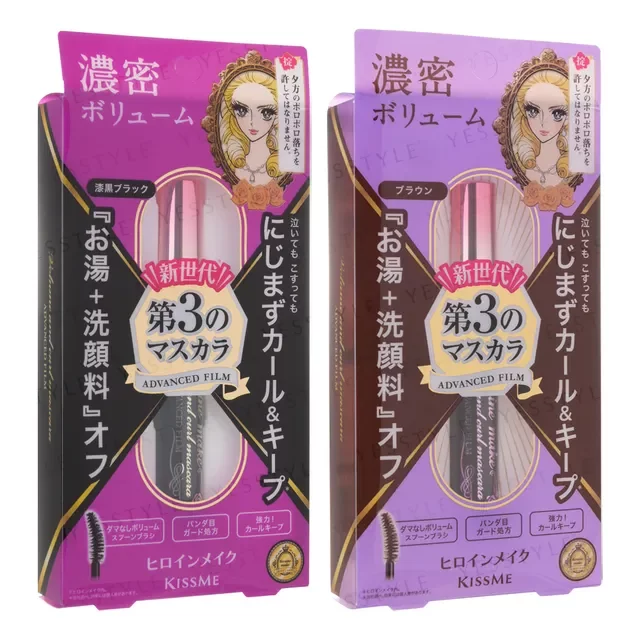
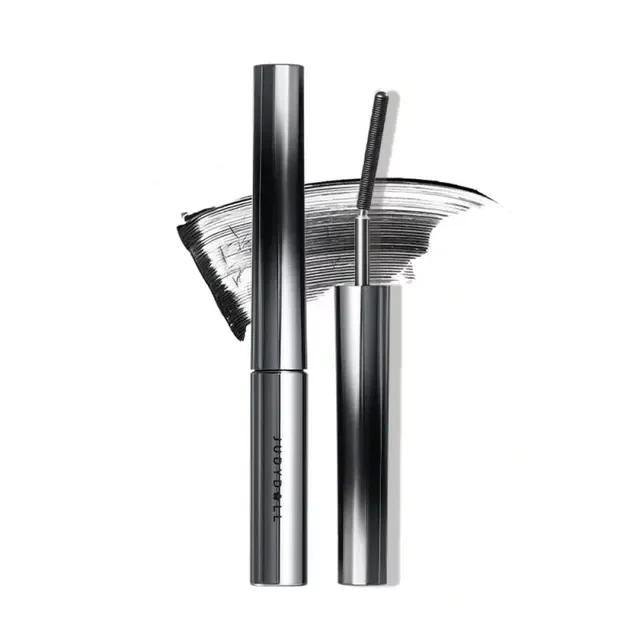
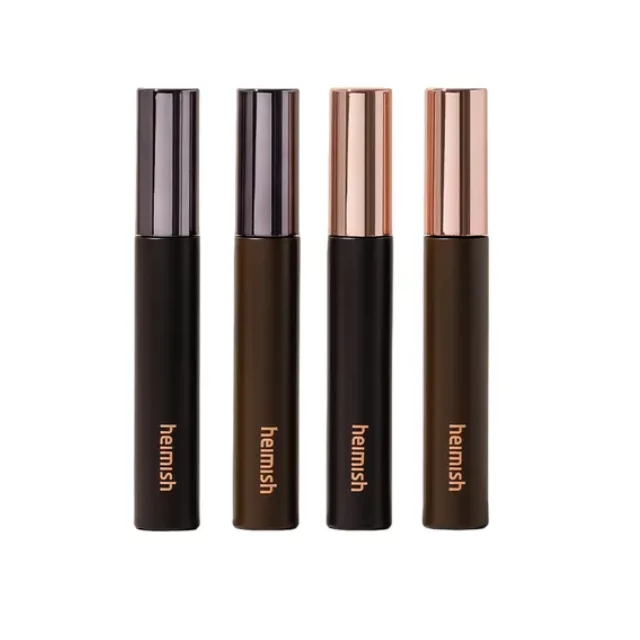
Step 7: Mascara
A coat of mascara makes a massive difference by thickening and defining your eyelashes, making your eyes appear larger and glammed up. Before applying mascara, curl your lashes with an eyelash curler to make them more lifted and fluttery. After positioning the curler along your lash root, press gently and hold for 5-20 seconds; extend the hold time if you have naturally straight and droopy lashes.
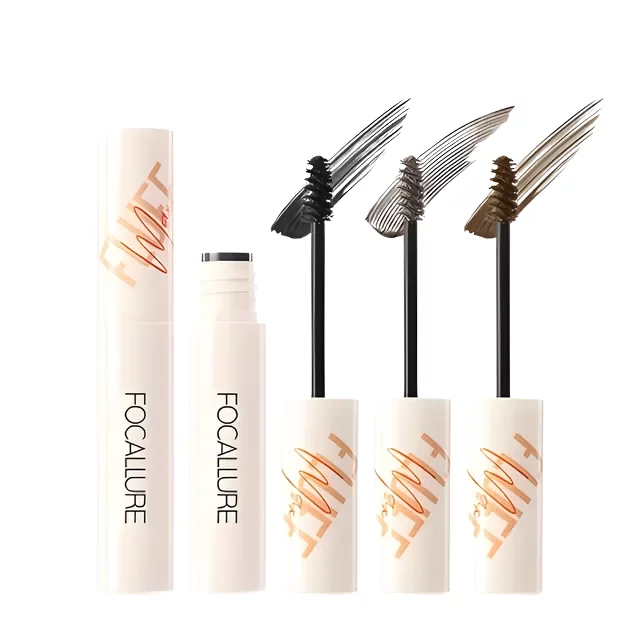
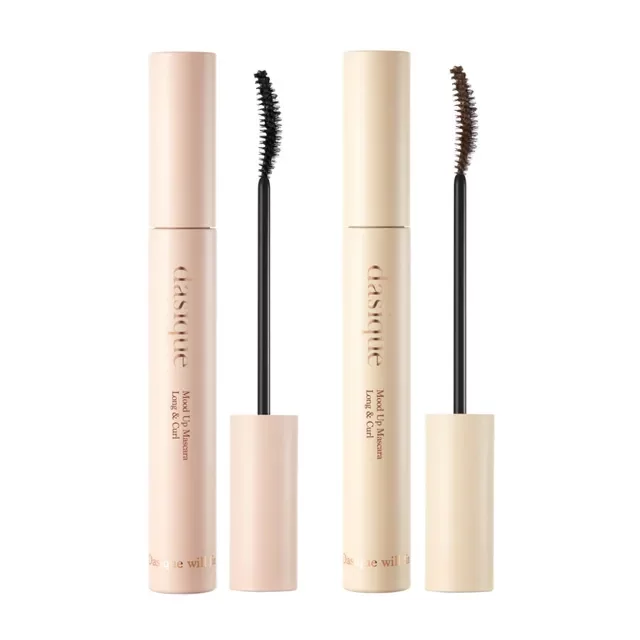
Different types of mascara offer different effects. Volumizing mascaras add volume to sparse lashes, lengthening mascaras elongate short lashes, and curling mascaras lift straight lashes. Make your pick based on your lash type and eye makeup preferences.
Mascaras typically come in a small tube with a wand applicator. To apply, place the applicator on your lash root and wiggle it from root to tip to coat mascara on lashes. Repeat the process for more prominent and dramatic lashes.
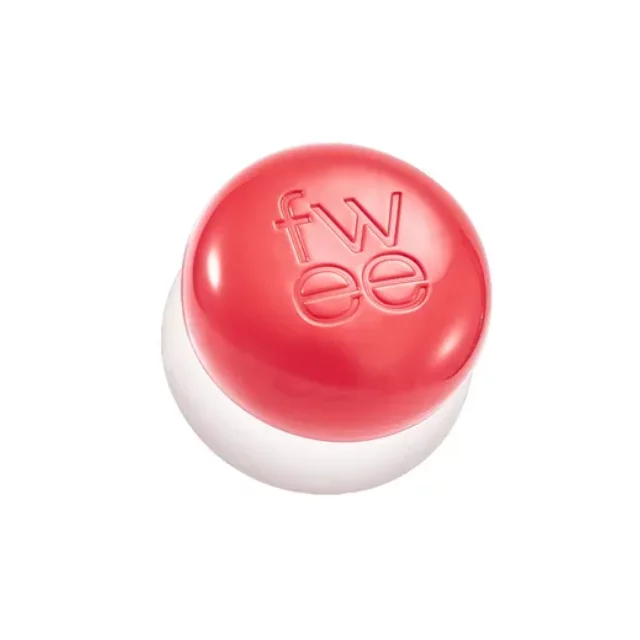
Step 8: Lip Makeup
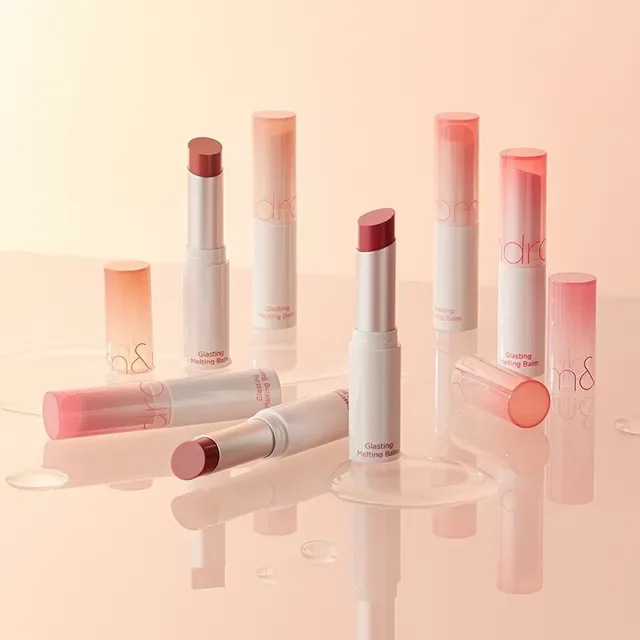
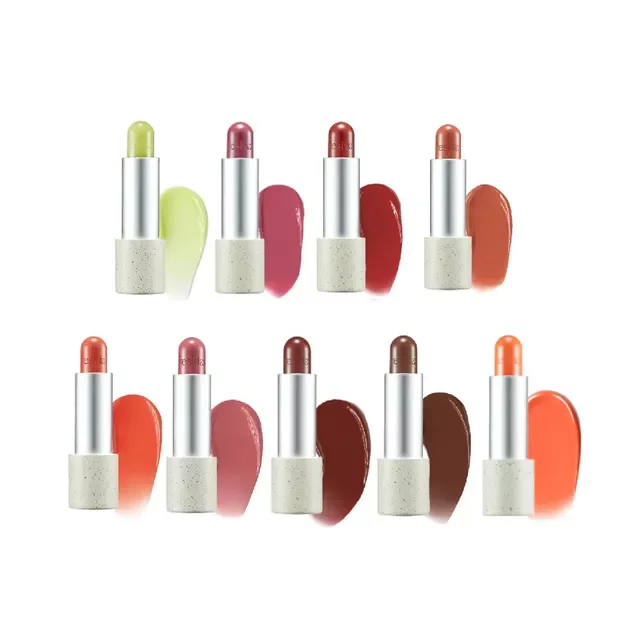
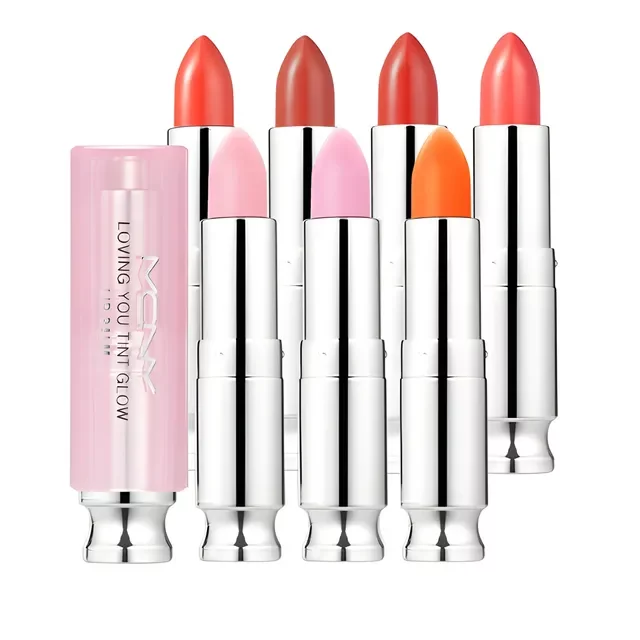
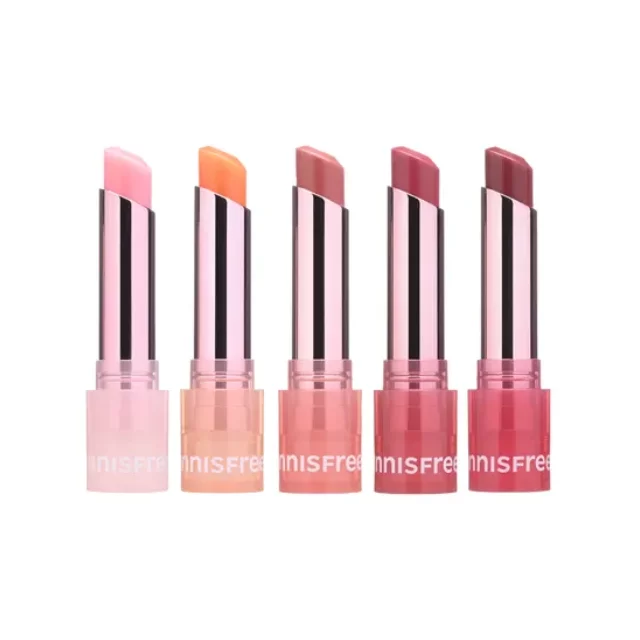
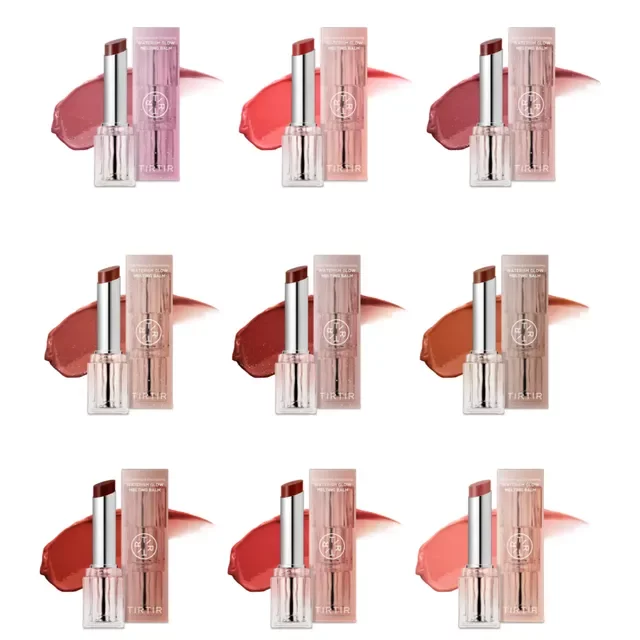
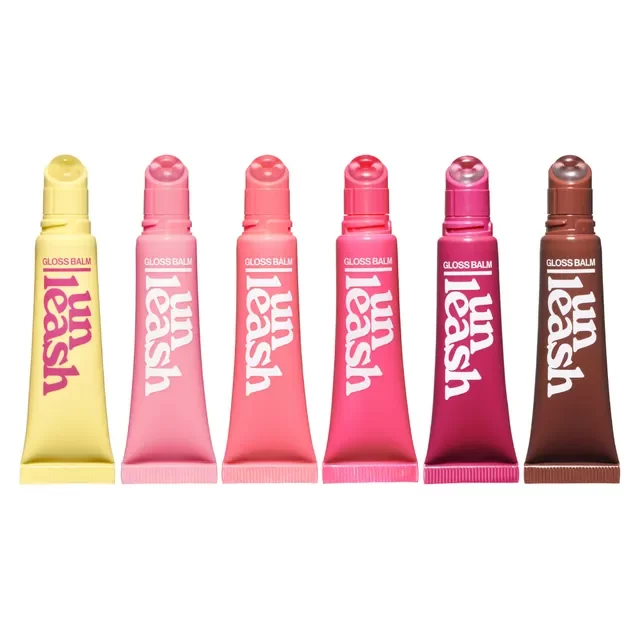
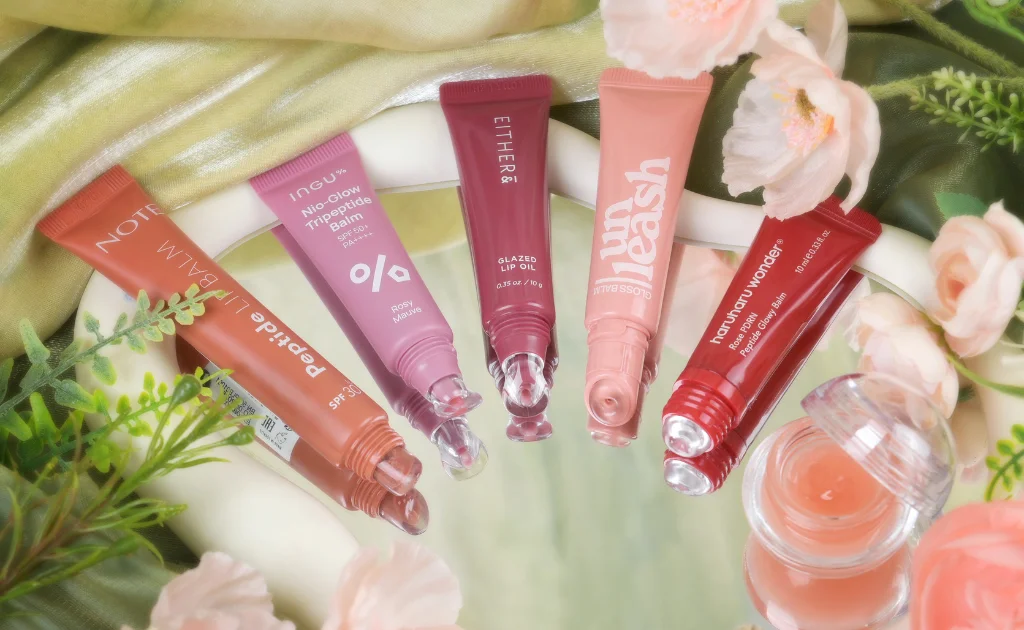
After finishing your base makeup and eye makeup, it’s time to pucker up with lip makeup. From baby pink to ruby red to even charcoal black, lip products like lipsticks and lip tints provide vibrant color to a makeup look. There are countless types of lip formulas and finishes to choose from.
To keep things simple and easy, beginners can opt for tinted lip balms as they hydrate lips while adding color. Select an MLBB shade that enhances your natural lip color. Swipe it onto your upper and lower lips, and then gently press your lips together to distribute the formula.